Master Simulations Using Geometry Nodes in Blender
Think like an engineer by Building your own physics engine using Geometry Nodes.
🖊️Course Description
In this course, you will learn how to create simulations using Geometry Nodes in Blender, by building your own physics engine.
This course is not just another “click-this-button” tutorial — It’s a deep dive into the world of simulations in Blender
You won’t simply learn to think like an artist, but also like an engineer.
You will explore the technical side of creating realistic simulations.
We’ll cover essential physics concepts such as
✅ Gravity
✅ Velocity
✅ Acceleration
✅ Collision
All of that will allow you to master simulations with a solid understanding of the science behind them.
By the end, you’ll be equipped to design complex, dynamic scenes with confidence.
What’s inside the course?
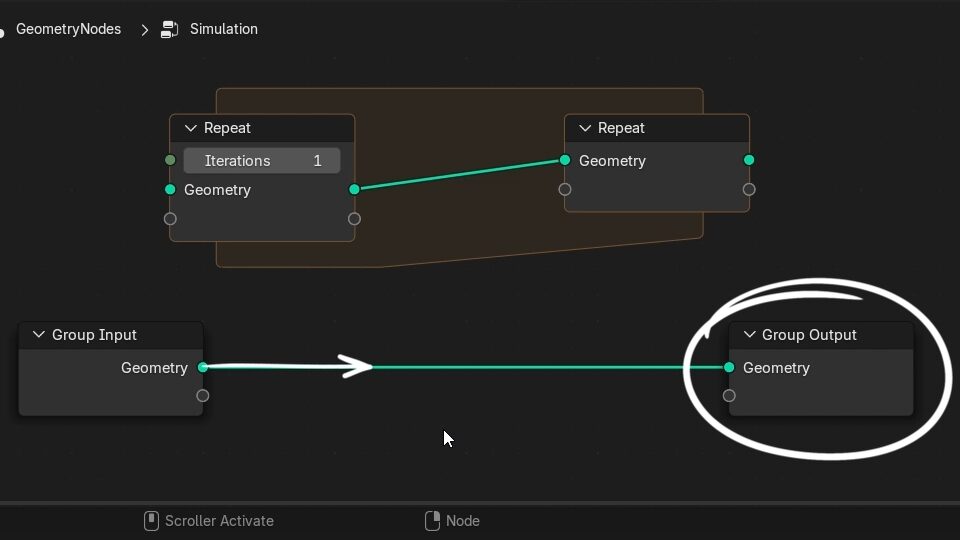
Video 01: Repeating Zones
This is the backbone of simulations in Blender.
In this video, you will learn the concepts behind repeating zones and how they work.
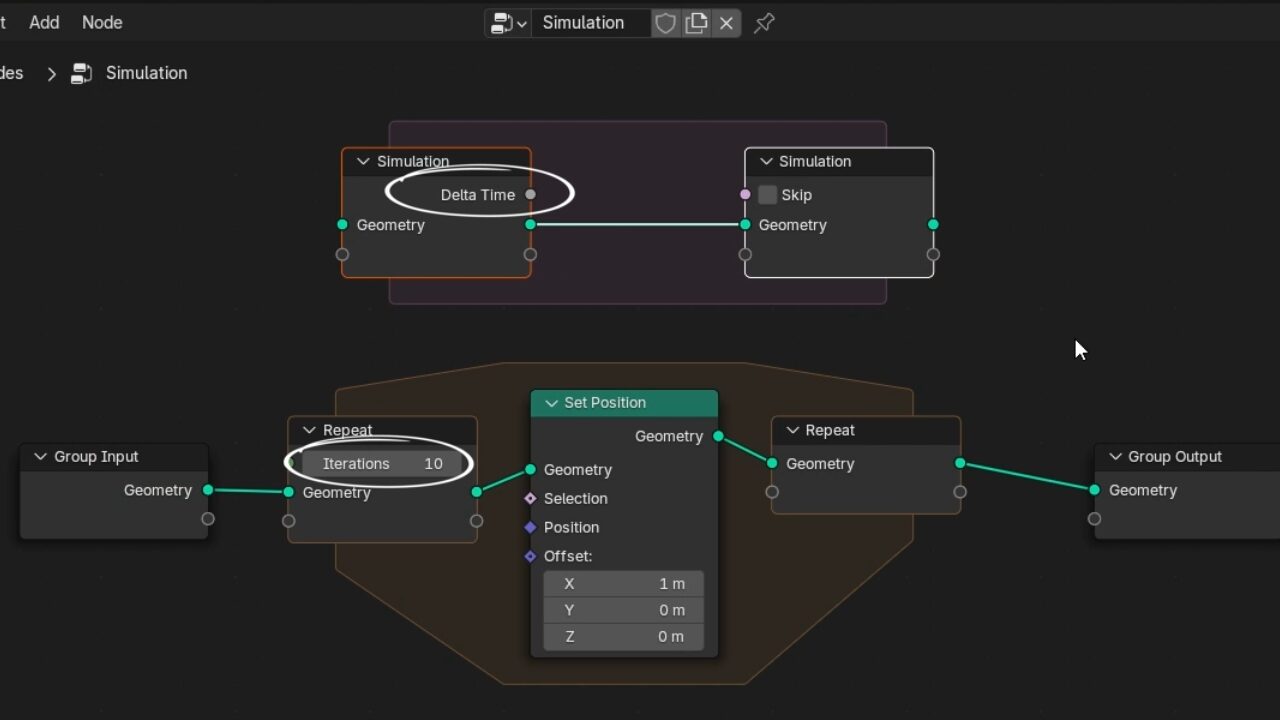
Video 02: Simulation Zones
In this video, you will learn the core concepts behind simulation zones and how they work.
Video 03: What is a Simulation?
There are a lot of way to think about simulations, in this video you learn the main concept behind simulations.
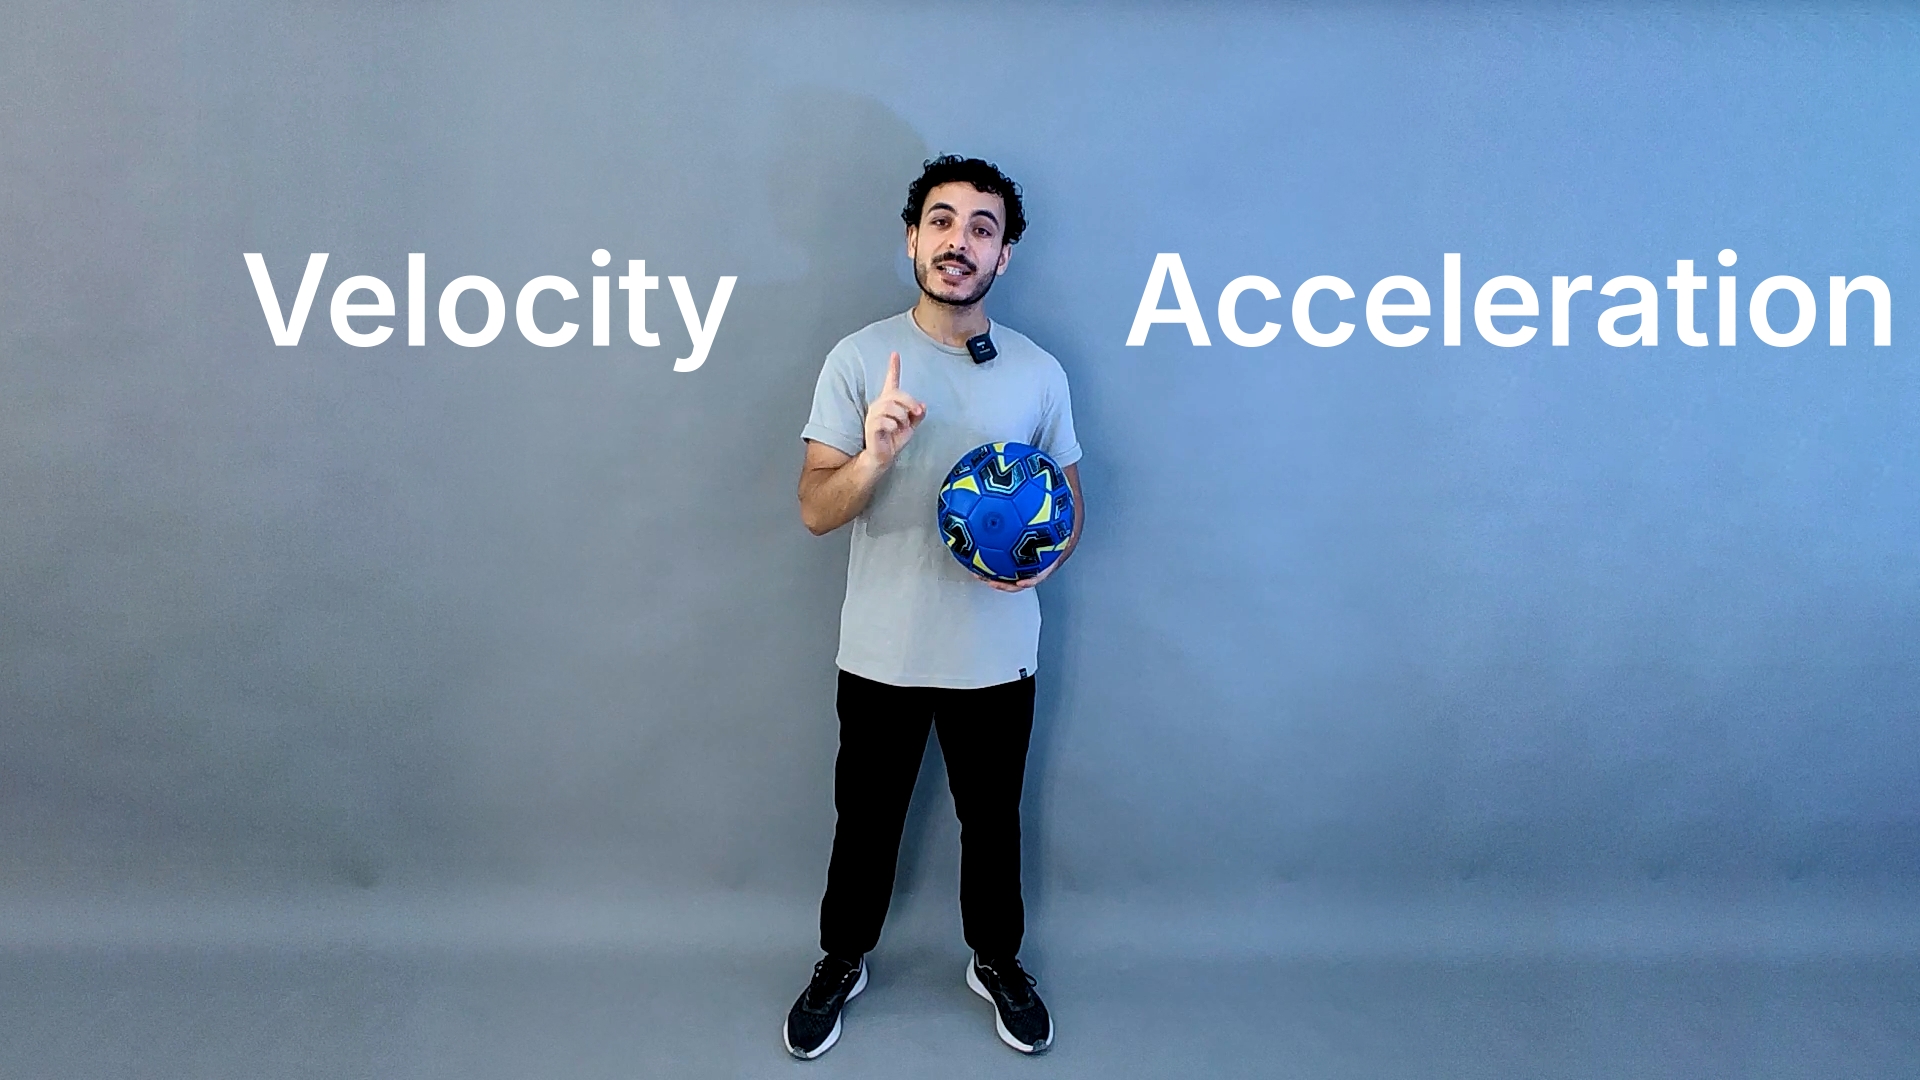
Video 04: What is Velocity?
Velocity and acceleration are the backbone of physic simulations. In this video, you will learn about velocity, and more importantly How to think of velocity!
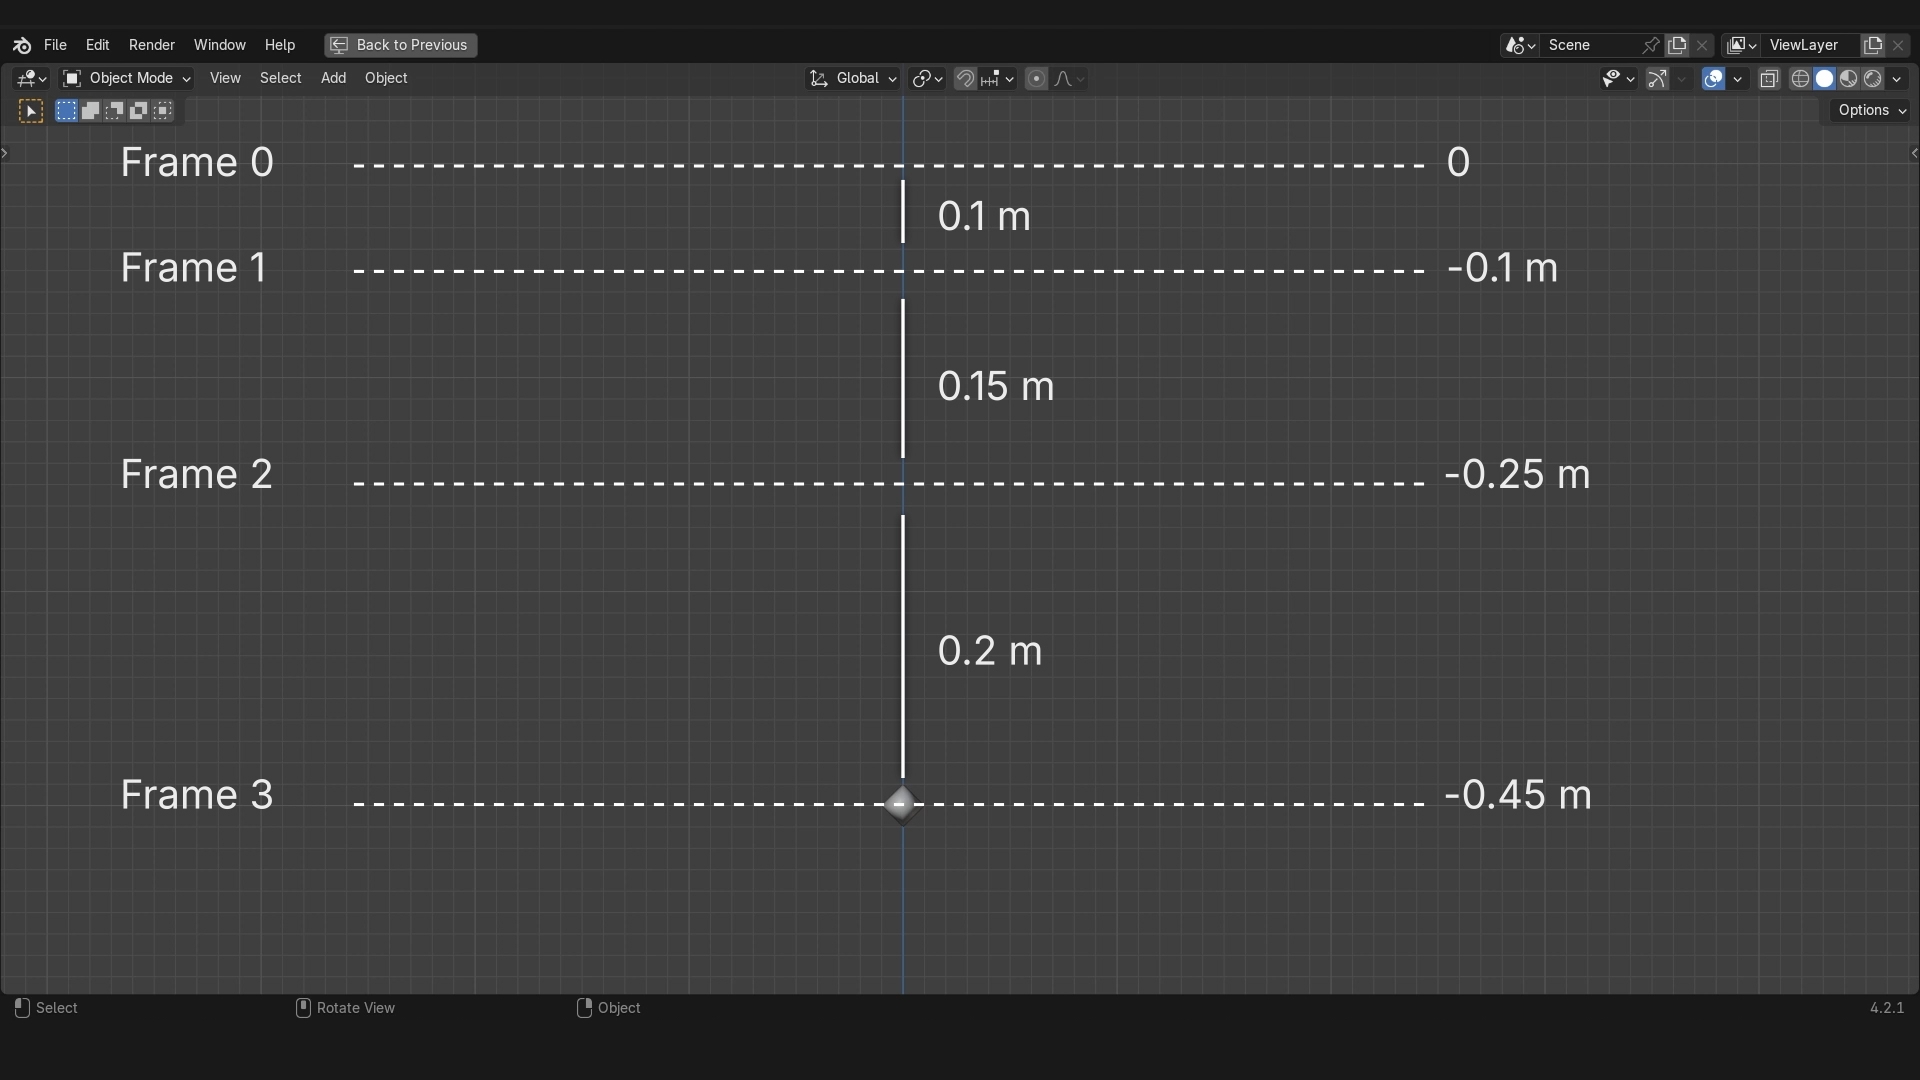
Video 05: What is Acceleration?
The 2nd most important force in simulations is the acceleration. In this video, you will learn about acceleration and how it relates to velocity.
The velocity and acceleration videos will equip you with a solid understanding of the different components of simulations that’s: Change in position and Change in Velocity.
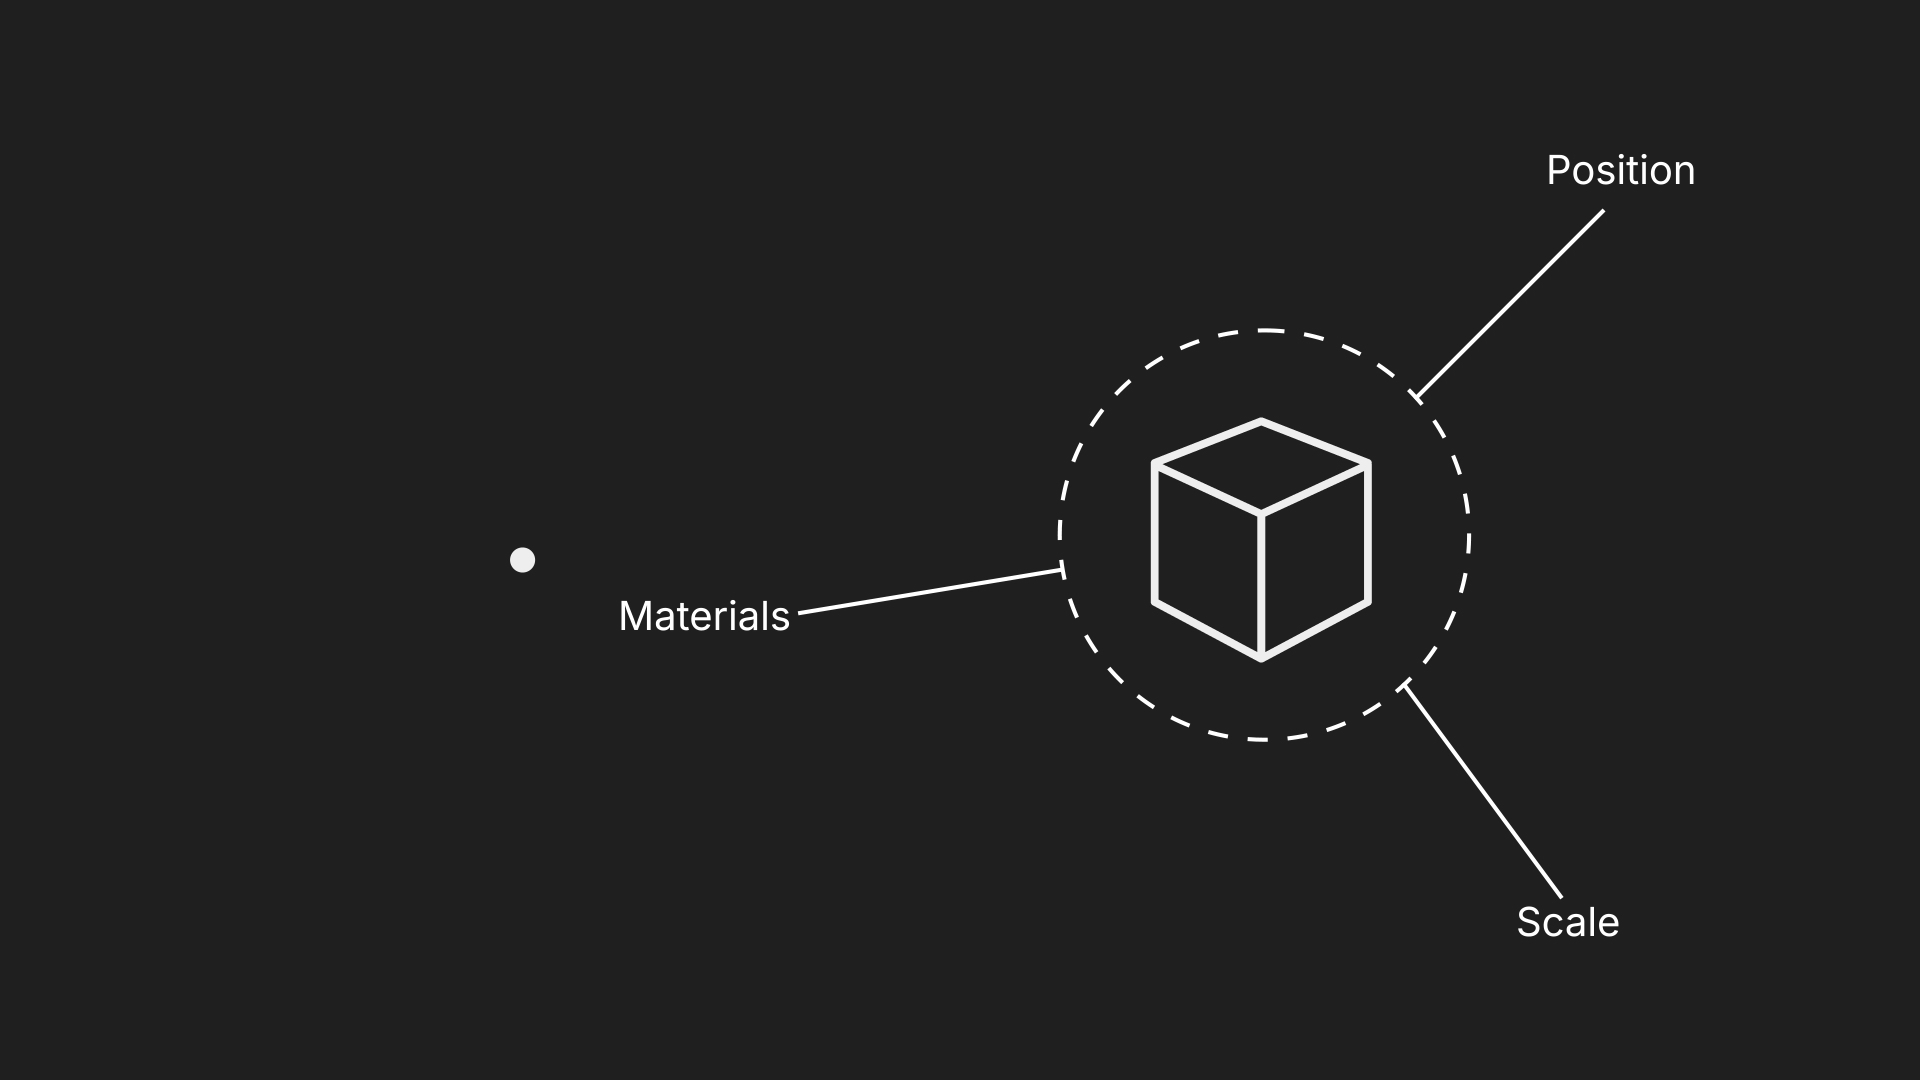
Video 06: What is an Attribute?
The concept of Attributes in Blender is one of the core components of simulations, and geometry nodes in general but It is hard to wrap your head around.
In this video, you will learn the philosophy behind attributes, how the work, and how to harness their power in your own work.
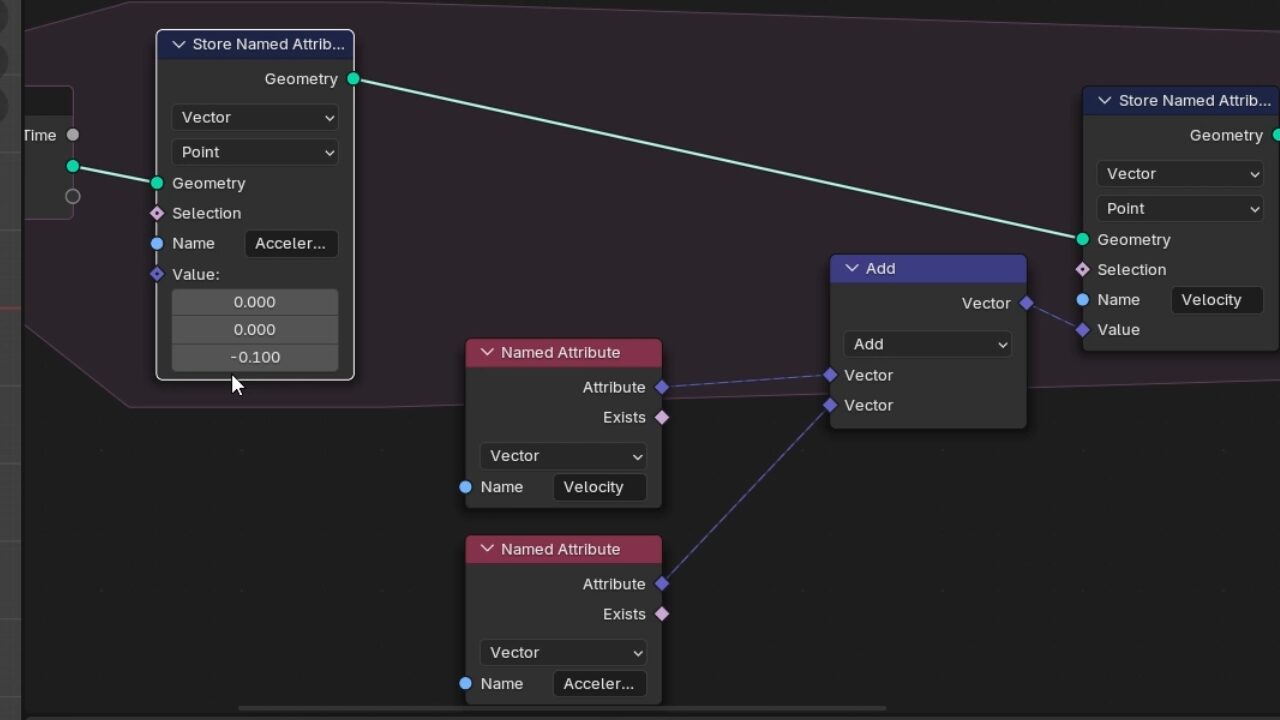
Video 07: The Acceleration Attribute
In this video, you will learn how to program (using nodes ofc) Acceleration in your physics engine.
Video 08: The problem of Delta-time
Trouble shooting is an important skill, and this video is all about that 😈
Because of the way simulation zones work in Blender, that will cause some inconsistencies in the results when we change the framerate.
In this video, you will learn how to make your physics engine function based on real-life timing. We’ll transform acceleration to the most fundamental force on earth. Gravity!

Video 09: Adding Constraints pt.1: The Floor
Up until this point of the course, we still didn’t talk about constraints. Basically how to make things collide with other objects.
In this video, you will learn the philosophy behind building constraints, by making points bounce off the floor.

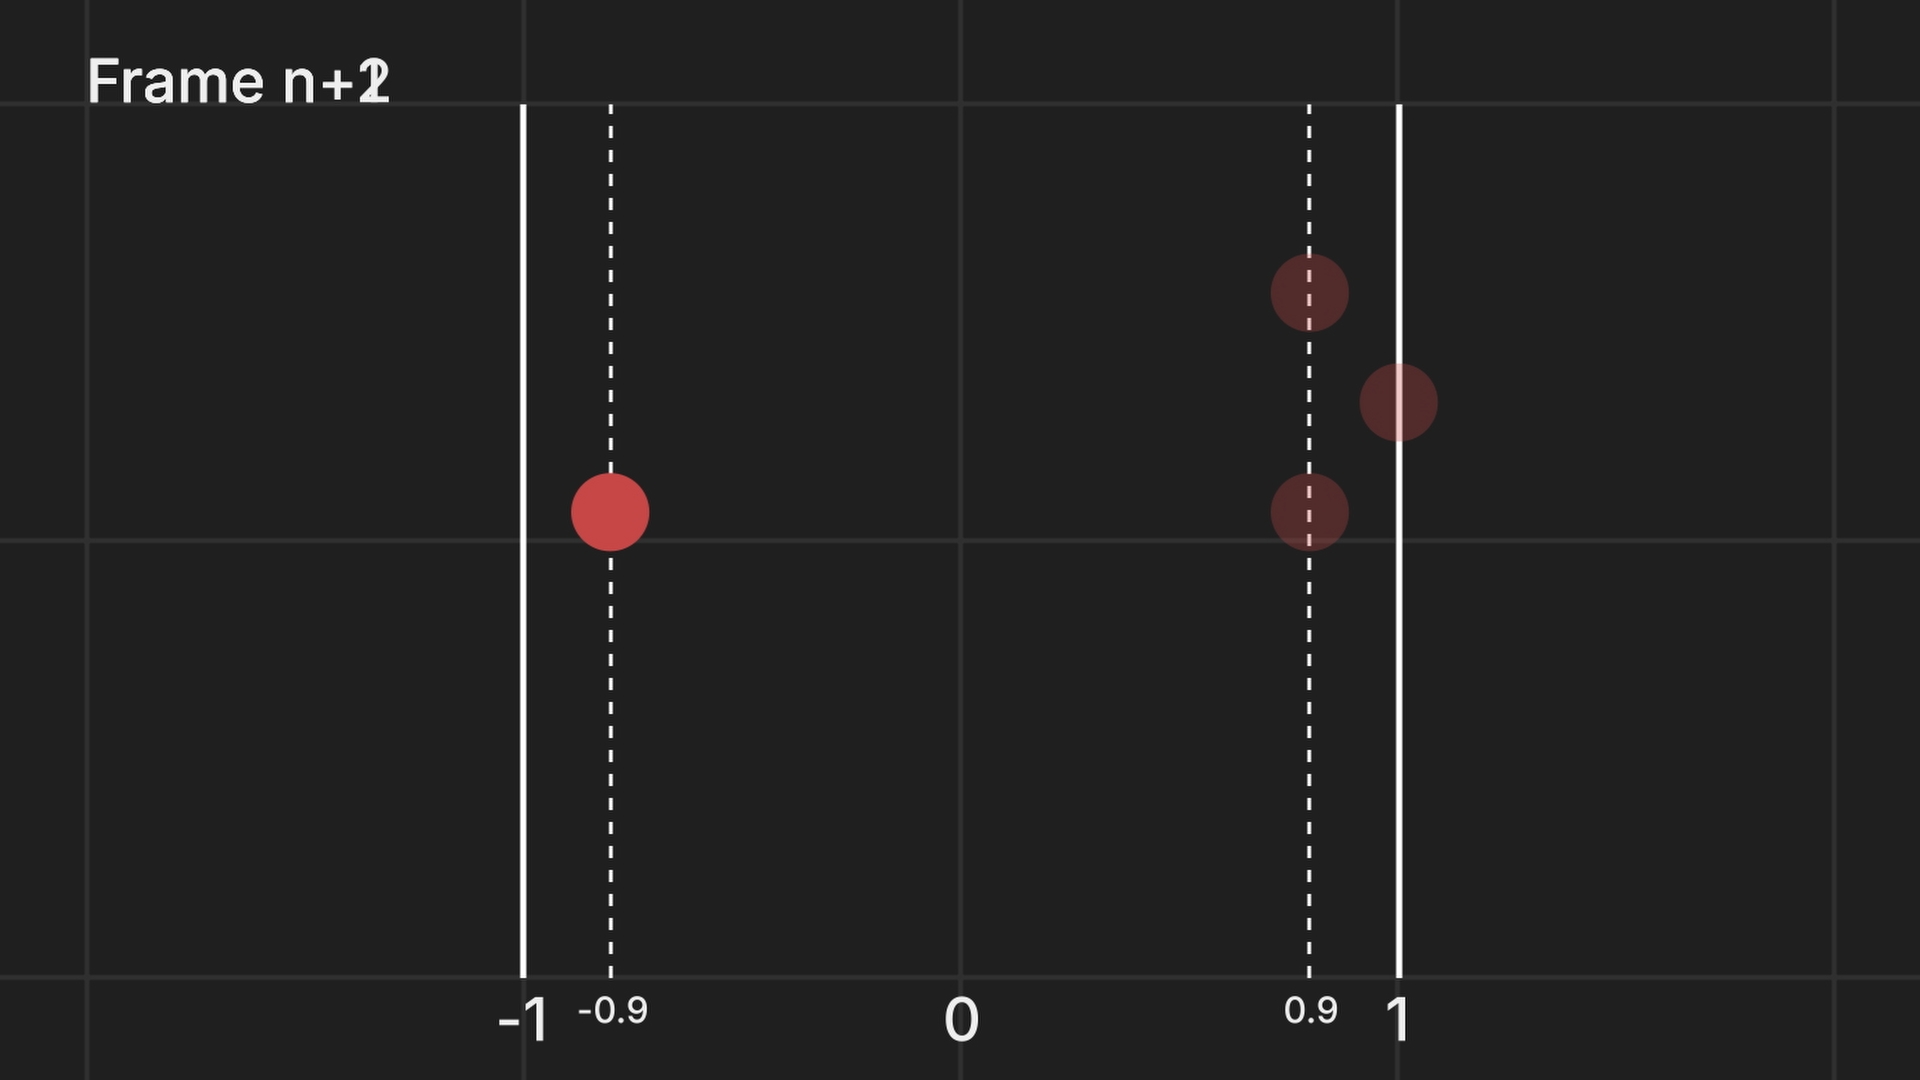
Video 10: Adding Constraints pt.2: The Side Walls
In this video, you’ll learn how to make the balls bounce of the side walls. This is a slightly more challenging exercise, but it will solidify your understanding of how to build constraints.
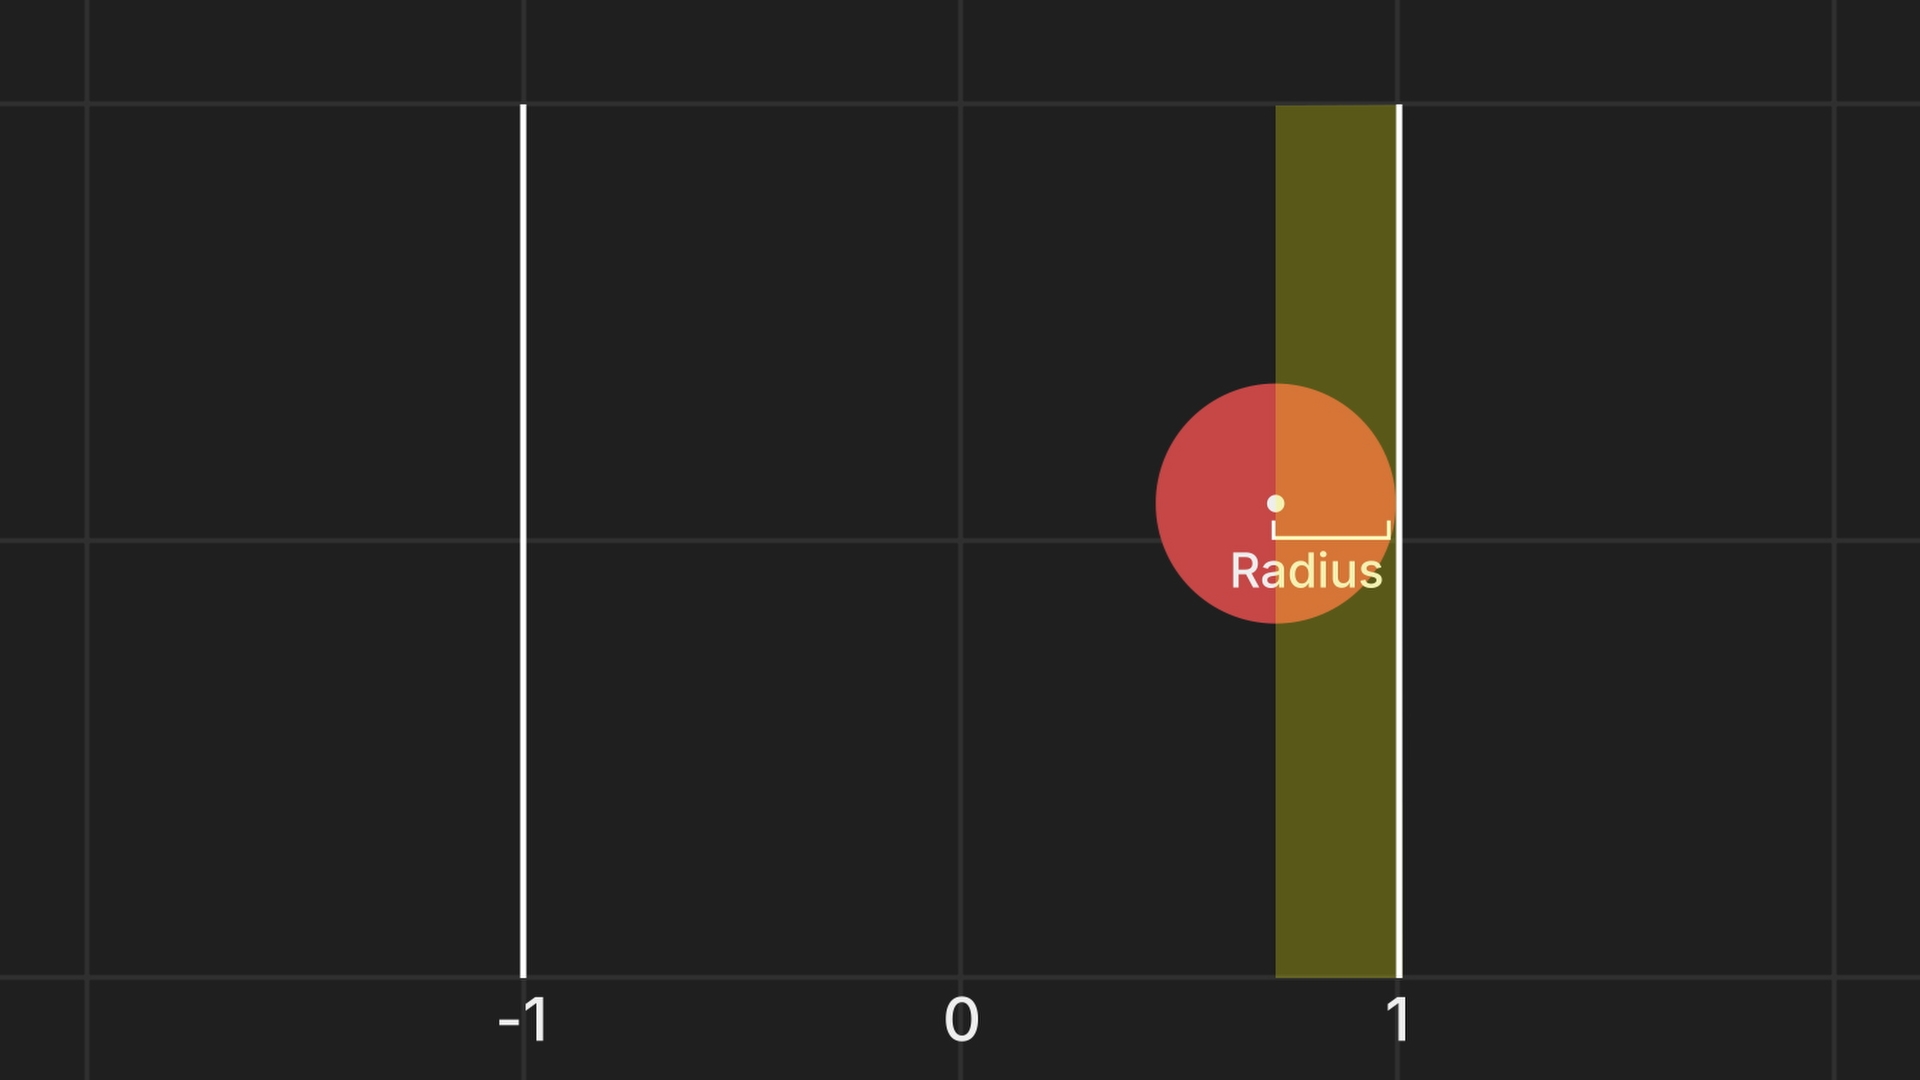
Video 11: The Radius
Your physics engine right now functions based on points, and points are just imaginary things that allows us to perform different operations. More on the video.
In this video, you will learn how to transform those virtual points into an actual geometry (Spheres).
Also, you will learn creative ways to solve different problems in this video.
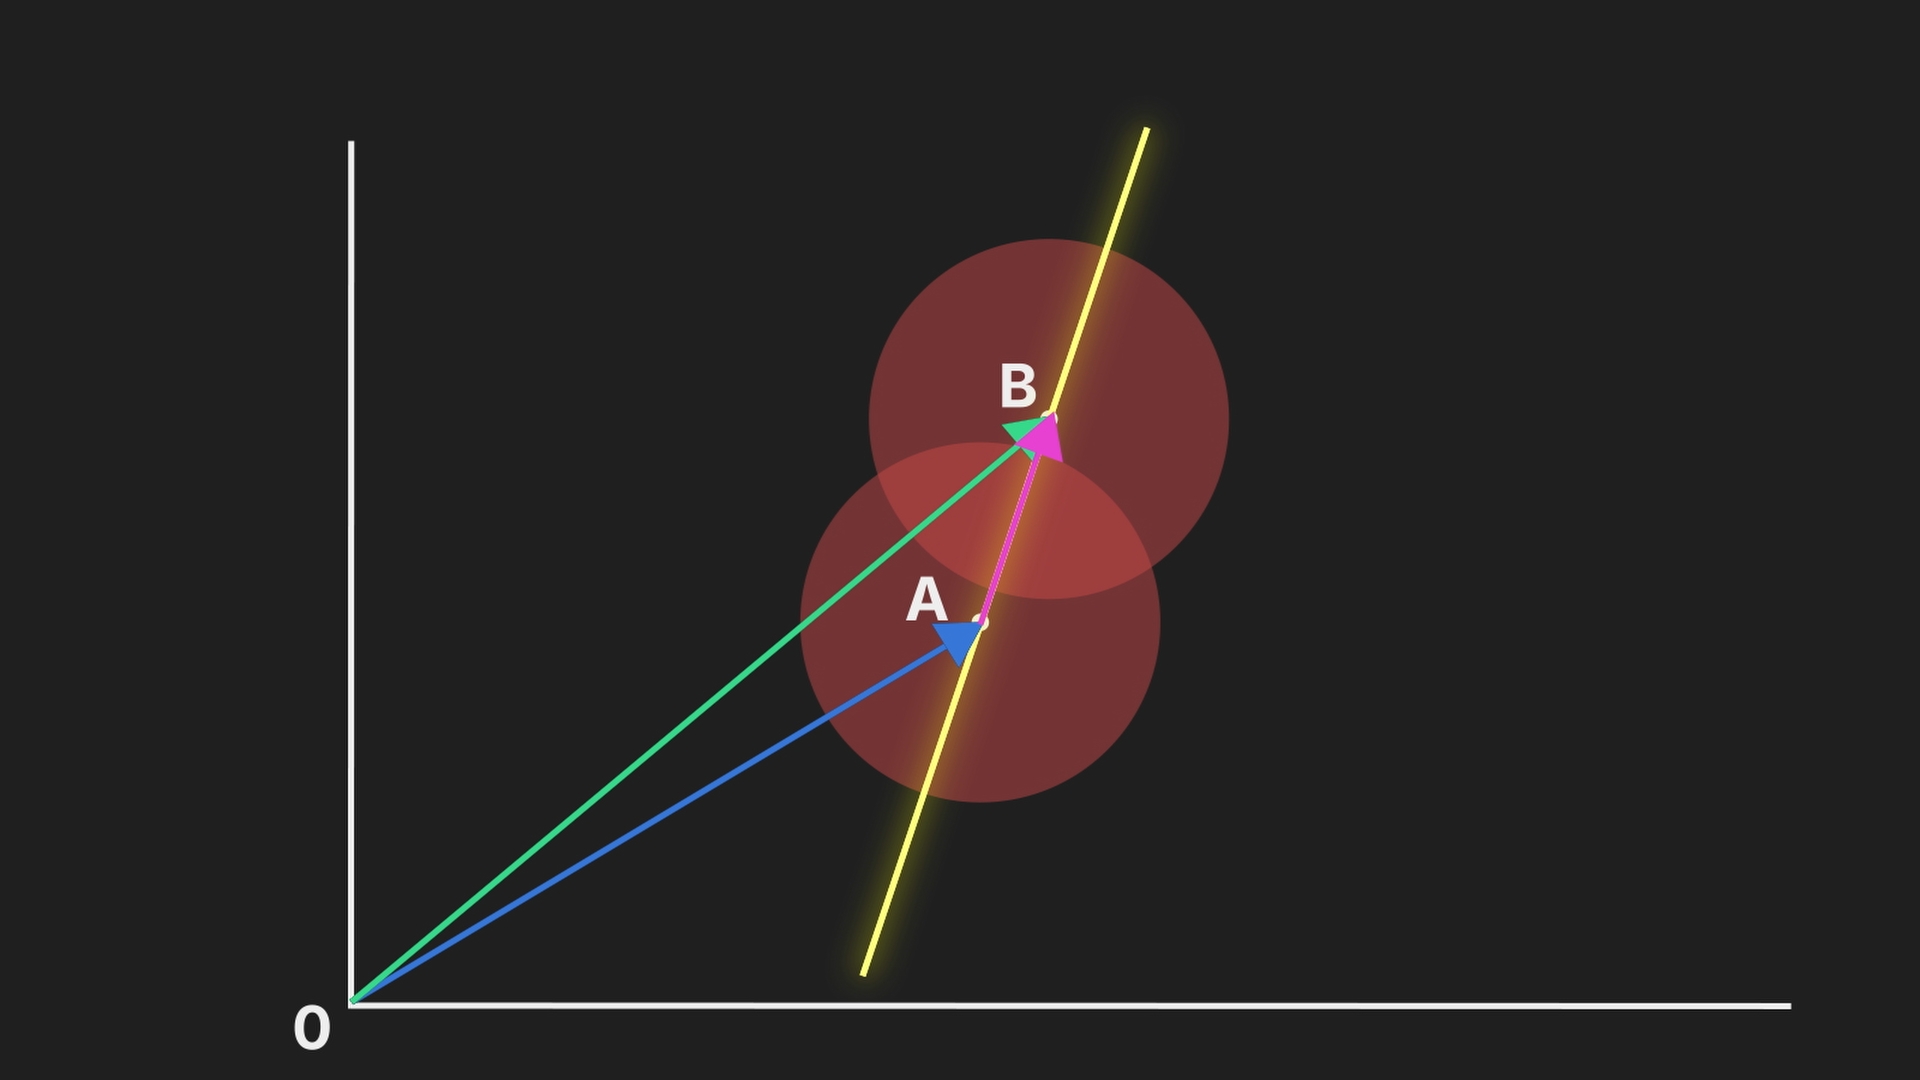
Video 12: Collision
This is the last technical video of the course.
At this point, you made the balls bounce of the floor and the side walls, but an important component of any physics engine is the collision between the different balls, and in this video, you will learn exactly how to program that into your physics engine.
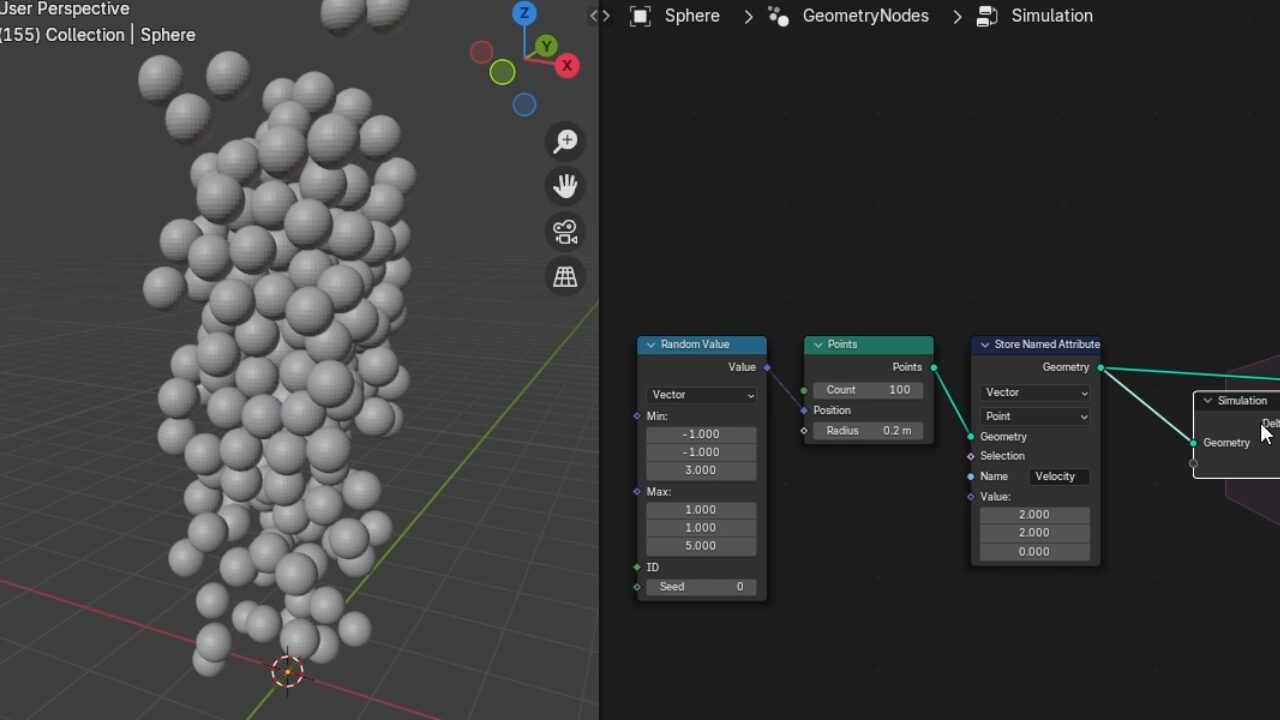
Video 13: Particle’s Spawning
In this video, you will make the balls spawn over time, instead of having them all at once from the beginning of the simulation which can cause Blender to go Boom!💥
This technique helps prevent Blender from crashing by controlling when objects are introduced into the simulation.
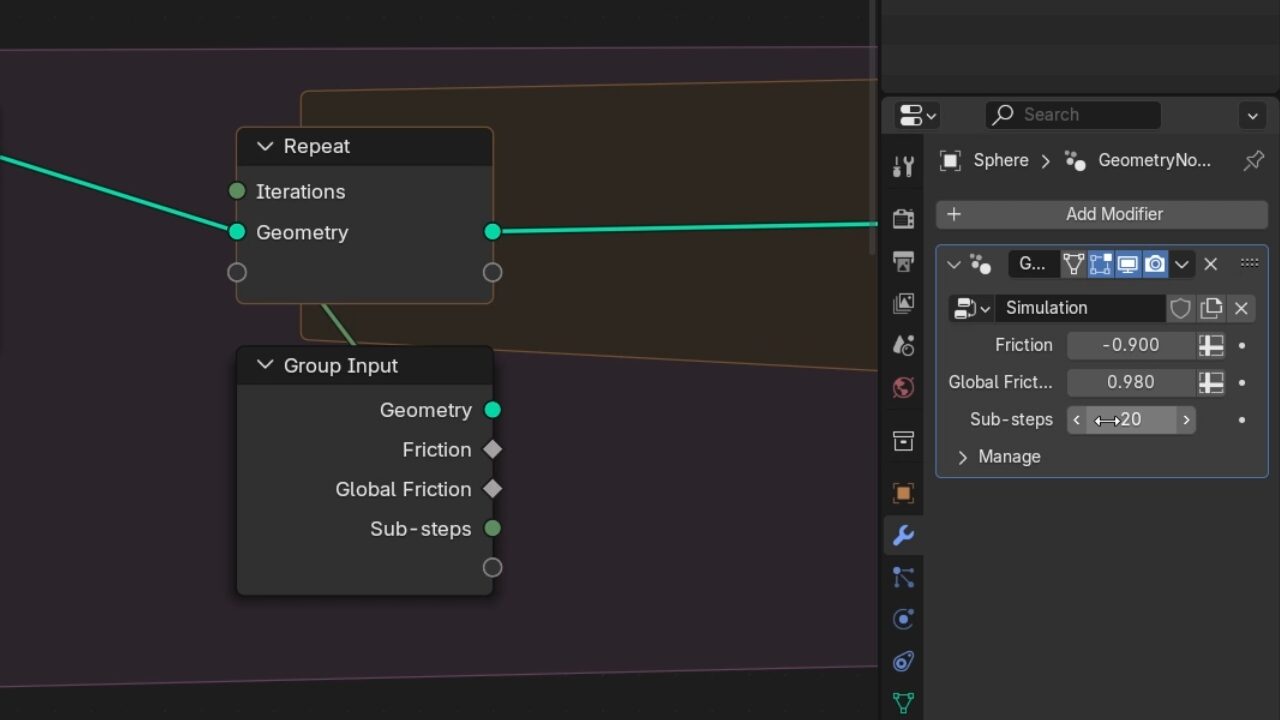
Video 14: Friction
Without friction the balls will keep bouncing forever. Sadly, that’s not how real life works. As long as you’re on earth, objects loses energy gradually.
In this video, you will learn different ways to implement friction in your physics engine, with some helpful quality life improvements to make it easier to change different parameters of the physics engine.
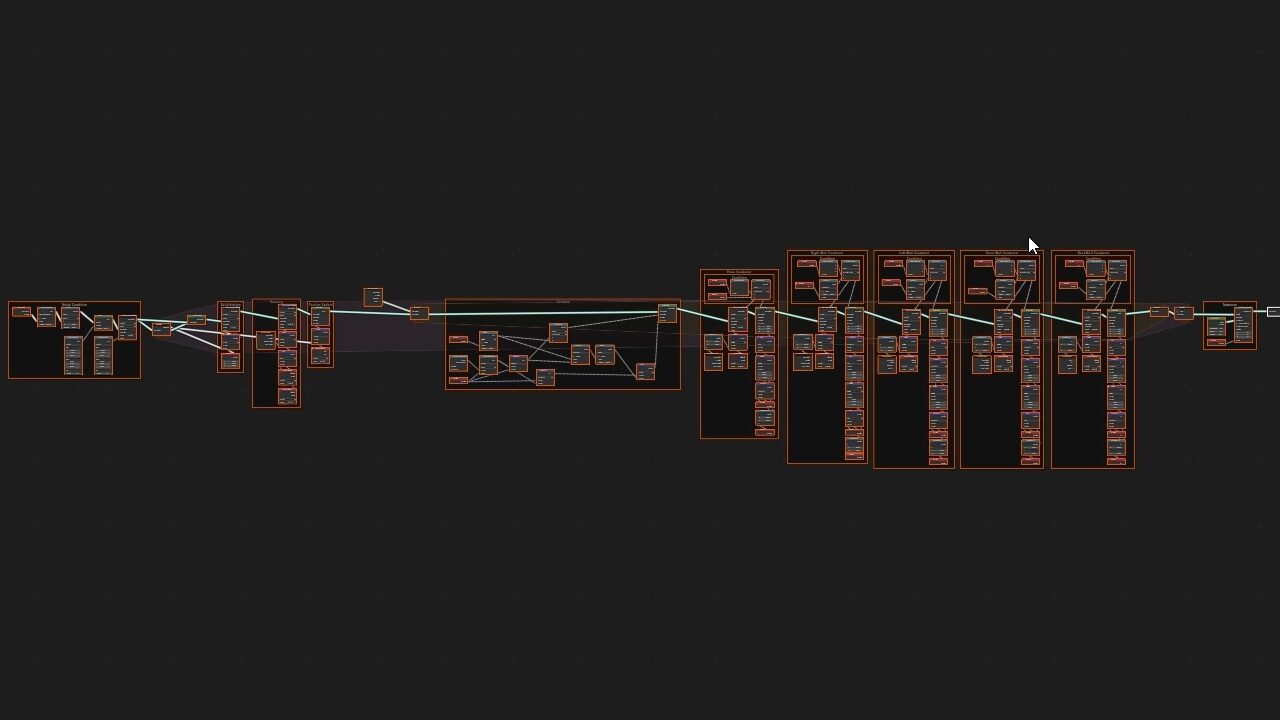
Video 15: Final Overview
In this final video, we’ll organize our node tree, and we’ll take a bird’s eye view on the physics engine we built.
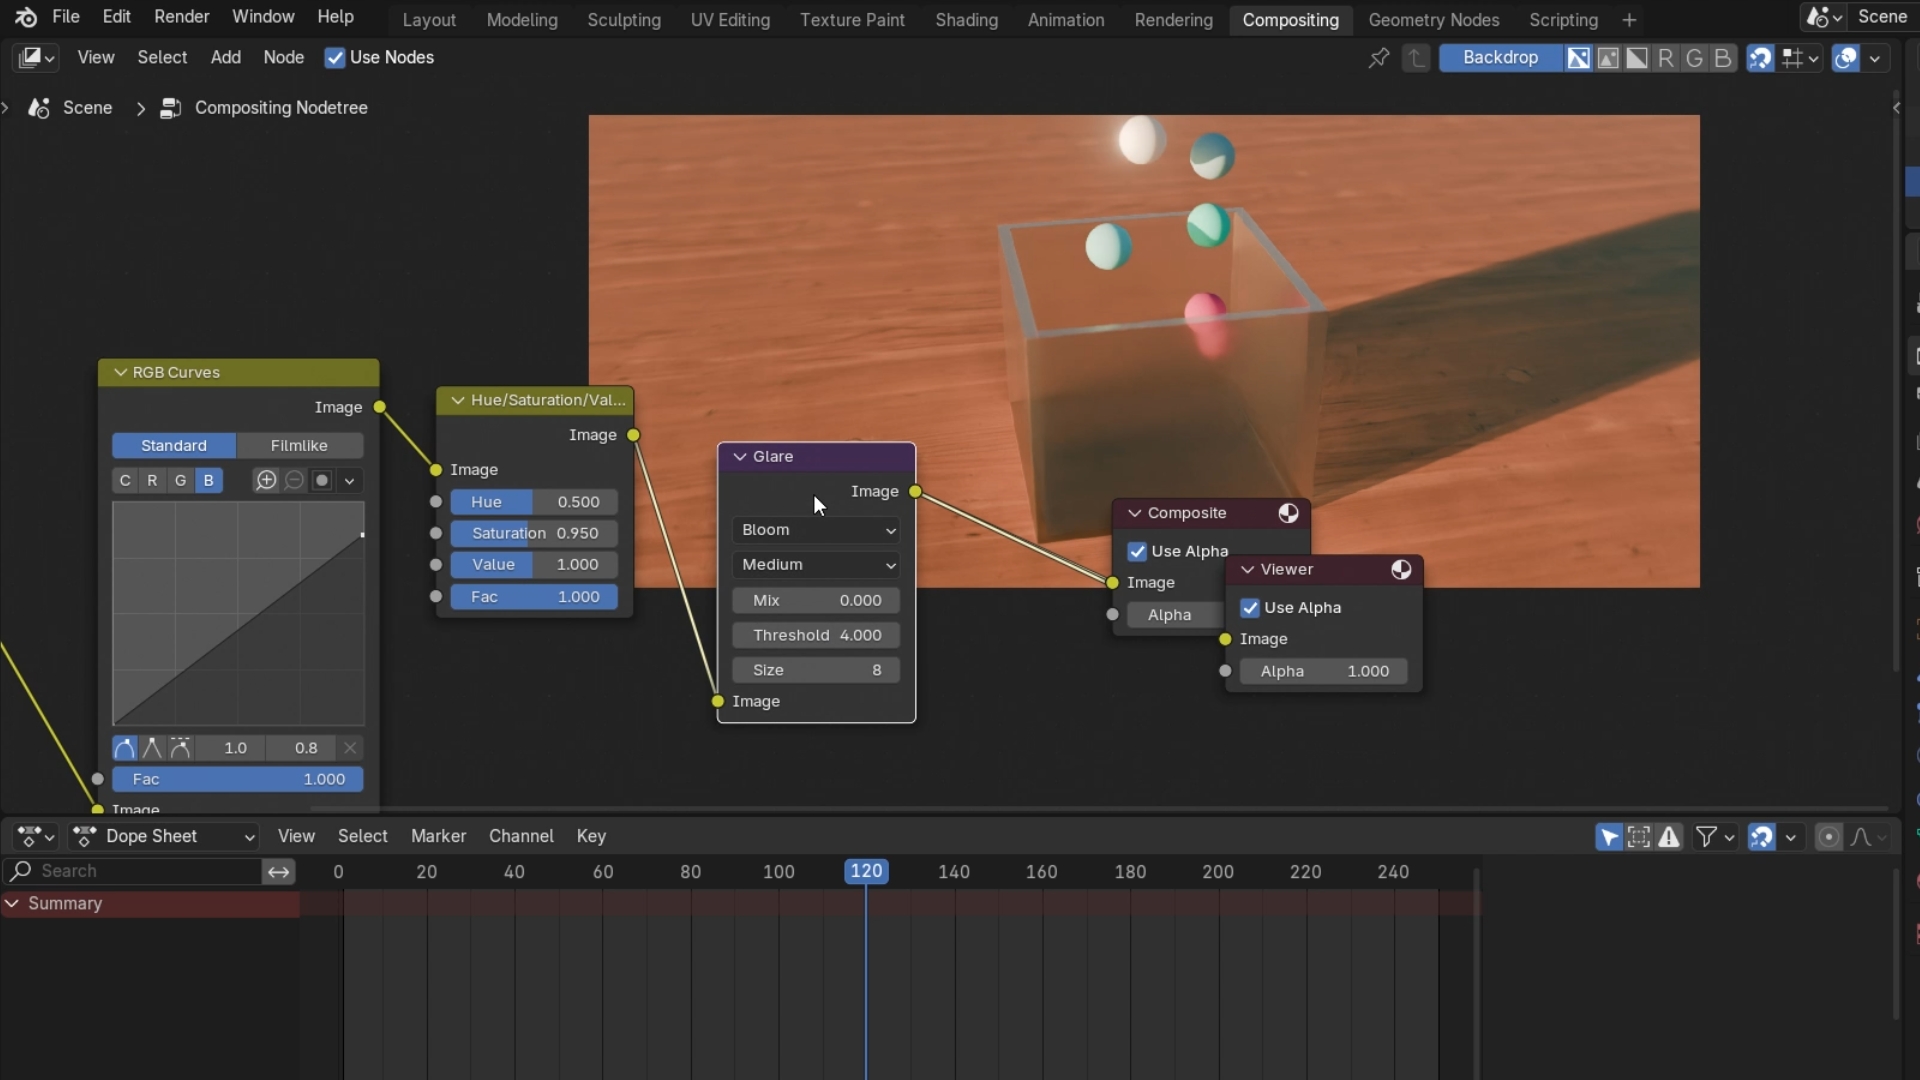
Video 16: How Create the Final Shot (Bonus Video)
A behind-the-scenes walkthrough of how I created my final render. This is beyond the scope of the course, but a fun look at the creative process!